Quick Answer
Repairing a broken roof tile involves lifting the surrounding tiles carefully, removing the damaged piece, and sliding a replacement tile into position, which is the basic process behind how to repair broken roof tiles safely and effectively. For small cracks, you can apply flexible roofing sealant directly to the damage. The job requires basic tools like a ladder, pry bar, and safety equipment, plus a matching replacement tile. Most single tile repairs take 1–2 hours and cost between £150–£250 if you hire someone, though confident DIYers researching how to repair broken roof tiles can handle straightforward repairs themselves in dry weather.
Why Broken Roof Tiles Need Your Attention Fast
A cracked roof tile can lead to major problems if not repaired quickly. What starts as a hairline crack can expand during winter freeze-thaw cycles, and before long you're dealing with water penetration into your loft space. At Checkaroof, we see this pattern repeatedly across UK properties.
Many homeowners only notice broken tiles after spotting water marks on ceilings or damp patches in loft spaces, rather than from external visual checks. The trouble is, by that point, moisture may have already reached the timber structure underneath. Prompt action prevents minor damage from becoming major structural problems.
Storm damage and wind uplift are leading causes of tile movement in coastal and northern regions. Strong gusts during seasonal storms can lift individual tiles just enough to break fixings, leaving roofs vulnerable even when damage isn't immediately obvious from ground level.
What You'll Need Before Starting the Repair
Getting the right materials and tools ready makes the whole process smoother and safer.
Essential Safety Equipment
Working at height poses significant risks. You need non slip footwear with good grip, a safety harness if you're working on steep sections, and protective gloves to handle sharp edges. A sturdy roof ladder with a ridge hook gives you stable access to the damaged area without putting weight directly on tiles.
Safety equipment is essential when working at height to prevent falls and injuries. Many tile repairs are spotted by neighbours rather than homeowners, simply because roofs are hard to inspect from level ground without proper ladder access.
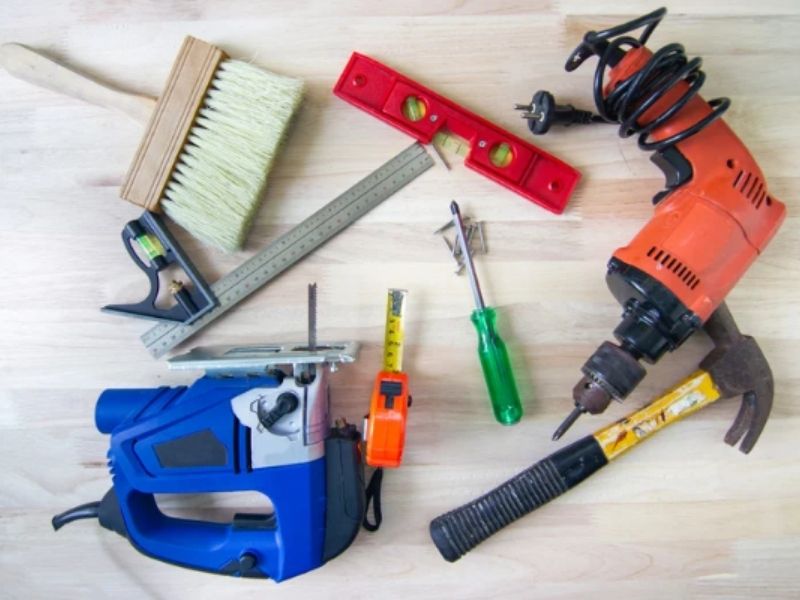
Tools for the Job
A pry bar helps you gently lift surrounding tiles without cracking them. You'll also want a slate ripper if you need to cut through old galvanised nails holding the damaged tile in place. Keep a brush handy to clear away moss, lichen and other debris before fitting the new tile.
For crack repairs rather than full replacement, you'll need roofing cement or a high-grade flexible sealant. Everbuild Evercryl One Coat is highly rated for being fibre-reinforced and waterproof even in wet conditions. Sikaflex EBT+ or Everbuild Stixall work well for bonding broken pieces because they remain flexible as the roof moves with temperature changes.
Getting the Right Replacement Tile
Matching materials for replacement tiles must align with the existing type, size, and material. Concrete roof tiles became especially popular in UK housing from the 1970s onwards, and many are now reaching an age where small repairs are becoming more frequent. The challenge is that original styles are no longer widely produced in some cases.
Clay tiles and concrete tiles each have different profiles and fixing methods. Interlocking tiles are among the most popular types in the UK due to their quick installation, but you need to match the specific interlock pattern. Slate requires specialist techniques and costs 20-30% more to repair than standard concrete tile work.
Take a piece of the broken tile to a roofing supplier if possible. They can help you match the colour, profile and thickness.
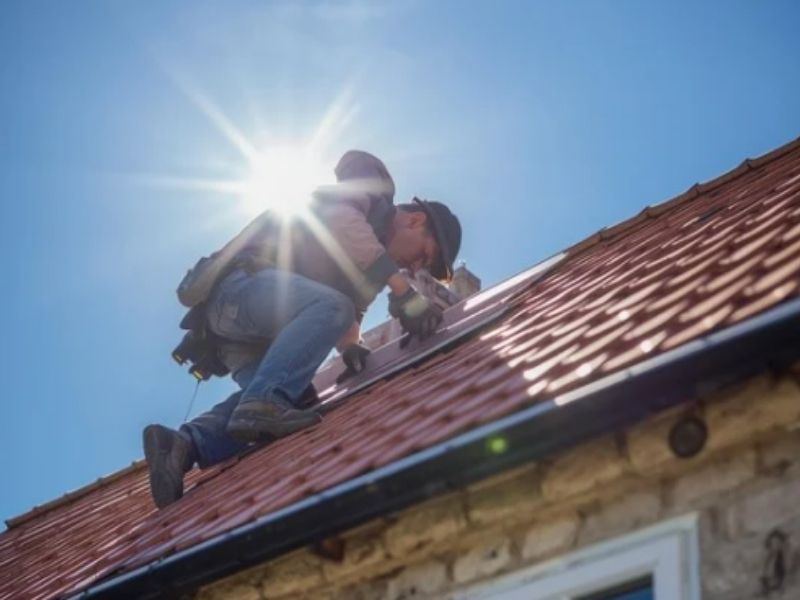
How Weather Affects When You Can Repair Tiles
Dry weather is the best time to perform roof repairs as it reduces the risk of slipping and ensures better adhesion of materials. Wet tiles are slippery and dangerous to walk on, plus moisture prevents sealants from bonding properly.
Weather conditions play a bigger role than most people think. Freeze-thaw cycles during winter can expand small cracks in tiles, turning what looks like minor damage into a bigger repair job by spring. That's why we recommend tackling repairs in late spring or summer when you'll have stable, dry conditions.
Wind is another factor. If you're working on exposed areas during breezy weather, loose tiles and tools can become hazards. Check the forecast and pick a calm day.
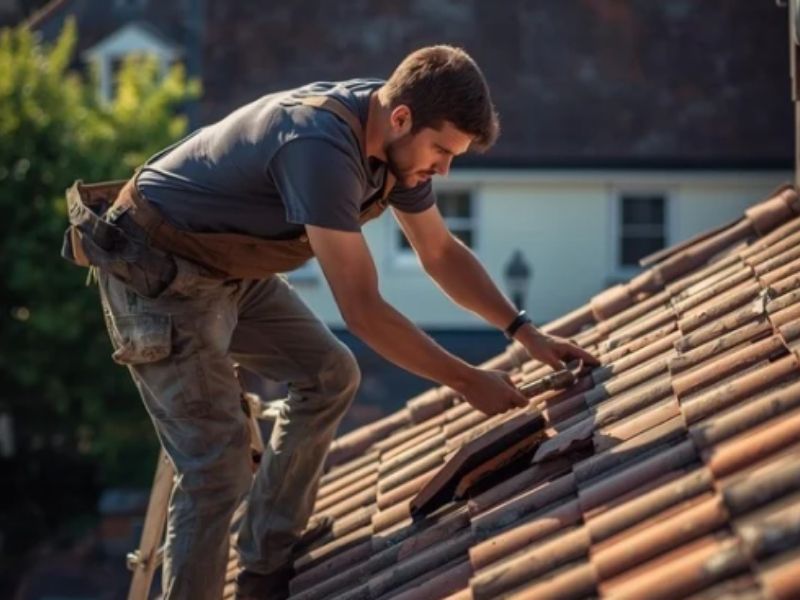
Step by Step Guide to Replacing a Single Broken Tile
Replacing a single broken tile is usually manageable for confident DIYers. Here's how the process works when you're swapping out a damaged piece entirely.
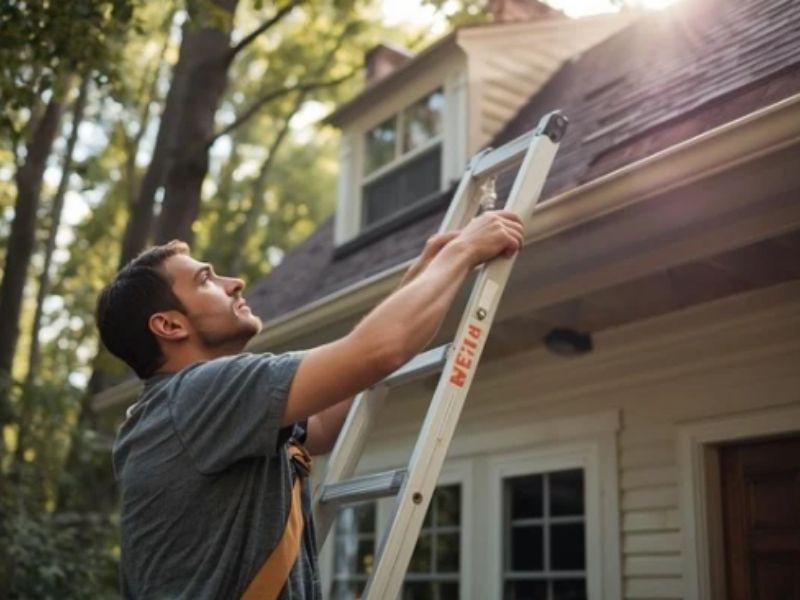
Setting Up Your Ladder Safely
Position your ladder on level ground at the correct angle, roughly one unit out for every four units up. Secure the base and have someone foot the ladder if possible. Extend a roof ladder from the main ladder up to the ridge, hooking it over the top so your weight is distributed across the roof structure rather than individual tiles.
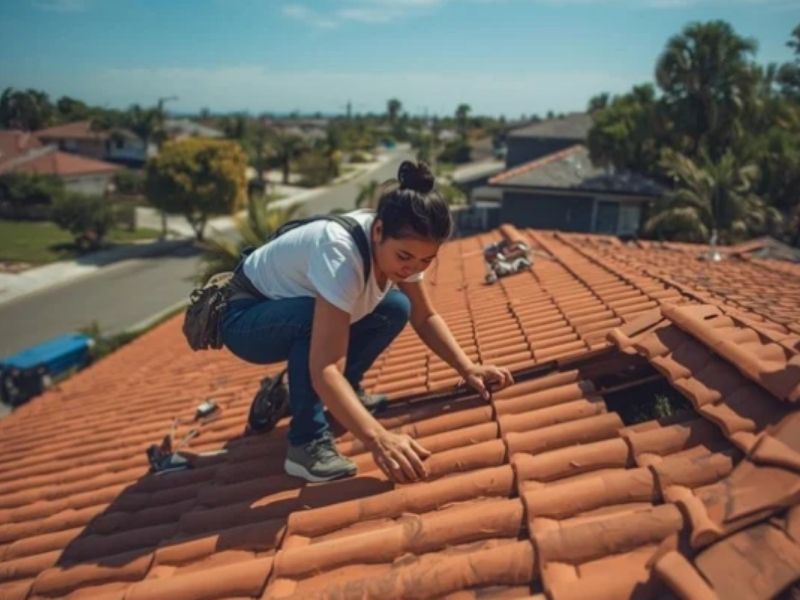
Accessing the Damaged Tile
Once you're safely positioned, inspect the damaged tile and the neighbouring tiles around it. Many UK roofs are designed with overlapping tile systems, which allows individual repairs without dismantling large sections.
You'll need to lift the tiles above and to the sides of the broken one. Use your pry bar gently, working it under the edge of overlapping tiles. Interlocking tiles may need several surrounding pieces lifted before you can slide the damaged one out.
Removing the Old Tile
Some tiles are just hooked over battens, while others are nailed in place. If you spot galvanised nails holding the tile, you'll need to cut them with a slate ripper. Slide the ripper up under the tile, hook it around the nail, and give it a sharp tug to snap the nail.
Wiggle the broken tile free carefully. Pulling too hard can damage the tiles above or tear the underlay beneath. Once it's out, brush away any debris from the exposed area and check the condition of the timber battens and underlay.
Checking What's Underneath
Inspecting the underlay for tears and ensuring the timber battens are secure is important during repairs. If the batten is rotten or the underlay is damaged, you'll need to address those issues before fitting a new tile. Small tears in underlay can be patched with self-adhesive flashing tape.
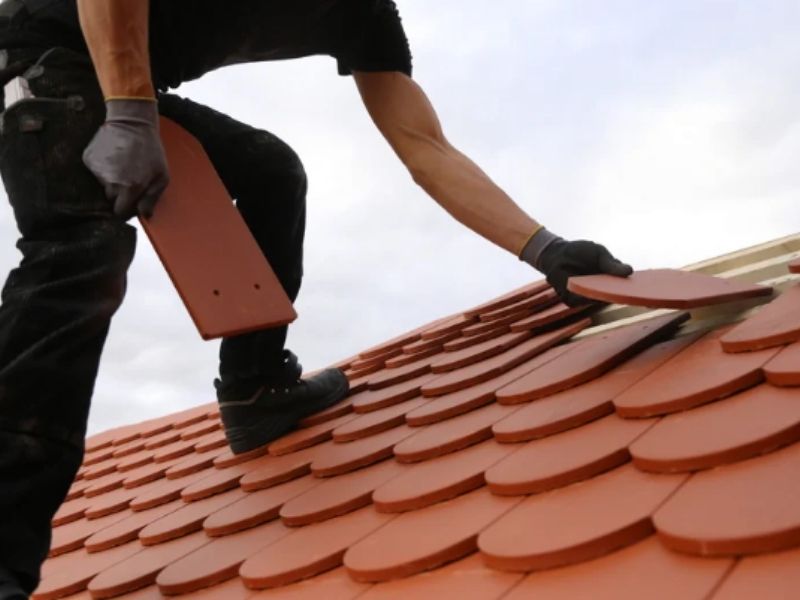
Installing the Replacement Tile
Slide your new tile into position, starting from the bottom edge and pushing it up until it sits snugly against the tiles above. For most interlocking tiles and overlapping tiles, the tile should hook over the batten and lock into place with the tiles either side.
Proper alignment of the new tile with neighboring tiles is crucial for a watertight seal. If the tile doesn't sit flush, water can run underneath. In high-wind areas, securing new tiles may require specialized tile clips in addition to the standard fixing method.
Some roofers apply a small bead of flexible adhesive at the edges for extra security, though this isn't always necessary with properly fitted tiles. If you're in a particularly exposed location, this extra step helps prevent future movement.
Final Checks
Lower the surrounding tiles back into place, making sure everything interlocks correctly. Stand back and check the repair blends in with the rest of the roof. There shouldn't be any gaps or raised edges where water could get in.
Repairing Cracks Without Replacing the Whole Tile
Not every broken roof tile needs full replacement. Minor cracks and small chips can often be fixed in place, saving time and money.
When Crack Repair Makes Sense
If the crack is small and the tile is otherwise secure, sealing is often the cost effective option. Hairline cracks respond well to flexible sealant, especially if you catch them before they spread. This approach works best on concrete and clay tiles that are still firmly attached to the battens.
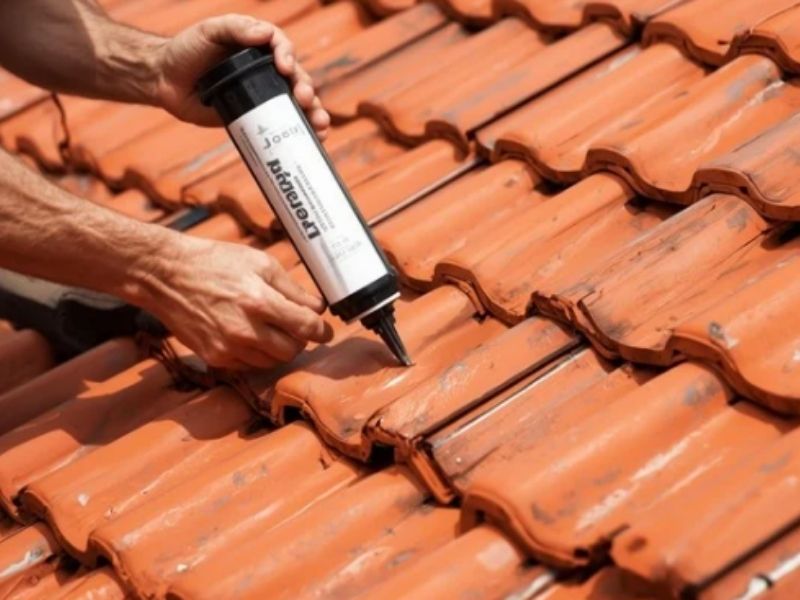
Applying Sealant to Minor Cracks
Clean the crack thoroughly, removing any moss, dirt or loose fragments. The sealant needs a clean surface to bond properly. A wire brush and a damp cloth usually do the job.
Applying a quality roofing sealant or flexible epoxy directly into minor cracks is a recommended repair method. Work the sealant into the crack using a filling knife or your finger, making sure it penetrates fully. Smooth the surface so water runs off rather than pooling.
For minor cracks, roofing cement or mastic can effectively fill larger cracks even in wet conditions. Everbuild Stixall and similar products stay flexible, which matters because tiles expand and contract with temperature changes. A rigid filler would crack again within months.
Bonding Broken Pieces Back Together
If a corner has snapped off but you've still got the piece, you can sometimes glue it back in place rather than replacing the entire tile. Clean both surfaces, apply a strong flexible adhesive, and hold the pieces together until the bond sets.
This fix won't last as long as a full replacement, but it can buy you time if you're struggling to find a matching tile or if you want to delay more extensive work.
Understanding Different Tile Types and Their Repair Needs
The type of tile on your roof affects how you approach repairs. Concrete, clay and slate each have their quirks.
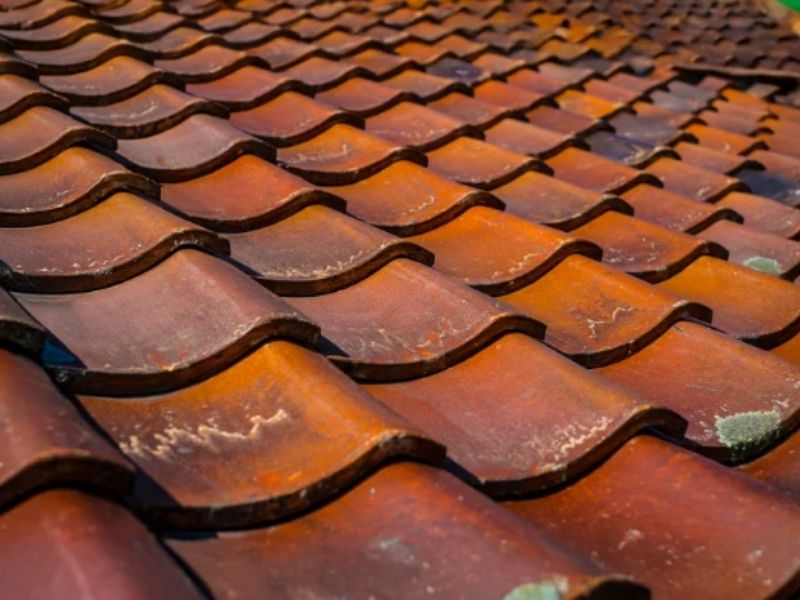
Concrete Roof Tiles
Concrete tiles are usually surface treated to protect against environmental deterioration, but their colours can fade over time. Matching a faded roof can be tricky since new concrete tiles look much brighter. They're relatively affordable and widely available, which makes finding replacements easier than with some other materials.
These tiles are heavy and prone to cracking if you step on them in the wrong place. Always distribute your weight across several tiles when moving around a concrete tiled roof.
Clay Tiles
Clay tiles typically have very long expected lifespans when installed and maintained correctly. They're more expensive than concrete but hold their colour better and look more attractive on period properties.
Clay is brittle, so handling needs care. A dropped clay tile will shatter, and even small impacts can cause cracks. When lifting clay tiles to access a broken one, support them fully rather than levering from one edge.
Slate Roofs
Slate requires specialist techniques and materials that cost 20-30% more than standard concrete tile repairs. Natural slate is extremely durable but difficult to work with. Each slate is typically nailed individually, and removing one without damaging those around it takes skill.
Slate rippers are essential for this job. Welsh slate, in particular, can be hard to match because different quarries produced different colours and textures, many of which are no longer available.
Common Mistakes That Make Repairs Harder
We see the same errors repeatedly, and they usually make a simple job more complicated or shorten the lifespan of the repair.
Walking Directly on Tiles
Stepping on the middle of tiles can crack them, especially on concrete roofs. Always position your weight near the overlap where tiles are supported by the battens beneath. Better still, use a roof ladder or crawl boards to spread your load.
Using the Wrong Fixings
Some DIYers grab whatever nail happens to be in the shed. Galvanised nails or proper tile clips are needed because regular nails rust out within a few years. Rust-weakened fixings let tiles slip, and then you're back to square one.
Ignoring the Underlay
Focusing only on the visible tile and ignoring damage to the underlay or battens underneath stores up problems. Water will still get through a perfect tile if the felt beneath it is torn. Check the full structure while you've got access.
Forcing Tiles Into Place
If a replacement tile won't slot in easily, forcing it risks cracking neighbouring tiles or the new one. Sometimes you need to trim a small amount from the edge or adjust how the surrounding tiles sit. Patience pays off.
When to Call a Professional Instead of DIY
Replacing a single broken tile is often a straightforward task for someone comfortable working at height. But several situations call for professional help.
Steep Roofs and Tricky Access
It is highly recommended to hire a professional roofing company for steep roofs or extensive damage. A pitch above 45 degrees becomes genuinely dangerous without proper training and equipment. Professionals have scaffolding, harnesses and the experience to work safely on challenging roofs.
Multiple Damaged Tiles
If damage is widespread, you're looking at a bigger job than a quick tile swap. Sagging rooflines suggest structural issues that need expert assessment. Professional roofers can assess the extent of damage and recommend appropriate repair techniques, whether that's patch repairs or something more comprehensive.
Complex Roof Areas
Valley tiles, ridge tiles and areas around chimneys or skylights involve lead flashing and specialist fitting. Getting these details wrong causes leaks that are hard to trace. Roofers frequently report that slipped ridge tiles and cracked edge tiles are among the most common callouts, as these areas take the brunt of UK weather exposure.
Building Regulations and Insurance
Professional roofers understand building regulations that may apply to roof repairs, ensuring compliance and safety. If you're claiming on insurance for storm damage, many insurers want a professional assessment and repair to maintain coverage.
Hiring a professional roofer reduces the risk of causing additional damage to adjacent roof tiles during repairs. One cracked tile can quickly become five if you don't know what you're doing.
How Much Roof Tile Repairs Actually Cost
Roof tile repair costs in the UK vary significantly based on damage extent, tile type, and accessibility factors. Understanding the numbers helps you budget properly.
Typical Price Ranges
Most homeowners pay between £150 and £400 for professional repairs. Simple crack repairs or tile repositioning typically cost £150-£250, whilst more complex patch repairs or multiple tile fixes range from £300-£500 including materials and labour.
Several factors influence the final repair cost. Roof height and pitch affect scaffolding requirements and safety considerations. A bungalow with easy access costs less than a three-storey Victorian terrace.
Material Costs
The type of tile significantly impacts repair costs. Natural slate requiring specialist techniques costs 20-30% more than standard concrete tile repairs. Clay tiles sit somewhere in the middle. Budget concrete tiles might cost £1-£2 each, while reclaimed slate can run £5-£15 per piece depending on size and source.
Long-Term Value
Professional roof tile repairs using quality materials generally last 10-15 years, often matching or exceeding the lifespan of surrounding original tiles. Prompt action prevents minor damage from becoming major structural problems, with most repairs costing £150-£400 when addressed quickly versus £1000 plus for extensive damage that's been left to spread.
Insurance Coverage for Broken Roof Tiles
Most standard UK home insurance policies cover roof tile damage when caused by specific perils such as storms, falling trees, or sudden impact damage from external sources, which is why many homeowners ask, does buildings insurance cover roof repairs in these situations.
Storm damage coverage usually applies when wind speeds exceed certain thresholds, typically 50 plus mph, and can be linked to specific weather events. If you notice damage after a named storm, contact your insurer promptly and mention the specific weather event.
General wear and tear isn't covered. If your tiles have simply reached the end of their natural lifespan and are crumbling, that's considered maintenance rather than insurable damage. Proper professional repairs typically maintain full insurance coverage and may even improve it by addressing potential damage sources before they cause bigger issues.
Maintaining Your Roof to Prevent Future Damage
Regular maintenance and prompt repairs can extend the lifespan of roof tiles and prevent costly future repairs down the line.
Regular Inspections
Regular inspections of roof tiles should be conducted at least once a year to identify any signs of deterioration. After major storms, a quick visual check from ground level can spot obvious problems like missing or slipped tiles. Use binoculars if you don't want to climb up.
Moss and lichen growth, which is common in damp UK climates, can trap moisture against tiles and gradually weaken them. Clearing this growth before it builds up thick deposits helps tiles last longer.
Clearing Gutters and Valleys
Blocked gutters cause water to back up under tiles at the eaves. Other debris in valleys channels water where it shouldn't go. Keeping these areas clear is basic roof maintenance that prevents many common problems.
Upgrading During Repairs
Some homeowners take the opportunity to upgrade ventilation or underlay during tile repairs, improving long-term roof performance without committing to a full replacement. Modern dry-fix systems are recommended for long-lasting, low-maintenance repairs to roof tiles, particularly at ridges and hips.
The Checkaroof Approach to Roof Tile Repairs
At Checkaroof, we handle everything from single tile replacements to comprehensive roof restoration. Our process starts with a thorough inspection, including a roof inspection by drone to safely assess hard-to-reach areas, ensuring we capture not just the visible damage but what's happening underneath.
We carry a wide range of tile types in stock, which means we can usually match your existing roof without long delays. For period properties where original tiles are hard to source, we have contacts with reclamation yards and specialist suppliers across the UK.
Professional roof tile repairs can last 10-15 years when properly executed. We use high-performance materials like fibre-reinforced sealants and durable hybrid polymer adhesives alongside traditional roof cement where appropriate. The longevity of roof tile repairs depends heavily on proper surface preparation and material selection, which is why we don't cut corners on prep work.
Prompt attention to broken roof tiles is important to prevent water penetration and subsequent structural damage. If you've noticed a problem with your roof, we can typically arrange an inspection within a few days and provide a clear quote with no hidden costs.
Modern repair techniques can extend the lifespan of roof tiles without compromising the roof's integrity. Whether you need a quick fix or a more substantial repair, our team brings the tools, safety equipment and expertise to get the job done right. Contact us today for a free assessment.